Updated January 3, 2023
If you are trying to figure out how to make minor or bold changes to your WordPress site without affecting your live site or your visitors, then you need to have a test server. Here I am going to show you how to set up a WordPress test server using an old computer or laptop by installing Linux on it. You will be able to test different themes, plugins, landing pages, and anything else you want to test before you put it in your live site(s).

Now that you know what WordPress is and what you can do with it, if you’re going to do any serious work with WordPress, you don’t want to use your live website to try new things. You will need to have a WordPress installation somewhere that you can use as a testing site.
Set up a Linux WordPress test server
There are many ways you can set up a WordPress test server but the two most viable ways to do this are:
- Get a cheap WordPress site somewhere. First, get a cheap website from GoDaddy or any other provider and install WordPress. Then use a plugin such as Under Construction so that only you can see the live website when you’re logged in with your browser. The rest of the world will see a blank page with a “coming soon” note, or whatever you set it up to.
- Use an old computer or laptop and set it up as a Linux test server. I have tried several Linux distributions and found Linux Mint and Lubuntu useful for this purpose. Linux Mint is my favorite distribution for a modern computer but probably will not run as well if the desktop or laptop in question is a bit old, say 8 to ten years old. You can solve this by going to the Linux Mint website and downloading an older version of the software. I found that Linux Mint 9 Isadora (32-bit) works great with a ten year old IBM ThinkPad that would not run many of the other distros because of the older processor it has.
In any case, I have chosen Lubuntu Linux for this example since even the newest versions run well in old computers.
Installing Linux on your old computer
I now have an old desktop that I have set up as a server. I have loaded the newest version of Lubuntu Linux, 3.10. Lubuntu is a very fast and lightweight distro based on Ubuntu Linux, which runs the LXDE desktop (as opposed to GNOME and KDE which use a lot more memory). If your computer is at least four or five years old download the 32-bit version (or if you know your computer is not 64-bit).
Linux is not like Windows. Every time you want to change a file or install something, it asks you for a “root” password (similar to the administrator password in Windows). After installing Linux, you need to change the root password in Ubuntu (remember, Lubuntu is an Ubuntu variant so almost anything that you can do in an Ubuntu Linux you can do in Lubuntu).
Set the root password
As default Ubuntu has no password set for the root user. To gain root access you have to set up your own user password. To manually set a password for the root user, you need to open a shell or terminal window (similar to the Command Prompt window in Windows). In Lubuntu, click on the bottom leftmost icon, then Accessories, then LXTerminal. Type in the following in the shell:
sudo passwdAfter that you are asked to type in the new root password twice. Finally, the root user has its own password. Leave the terminal window open.
Now that you have set up the root password, you should update your Lubuntu installation. I am assuming that your server is connected to the internet. For that to happen, your old computer or laptop would have to have a wired or wireless connection to your home’s router.
Most new distributions of Linux, including Lubuntu, do a pretty good job in detecting all the hardware of your computer and connecting to the internet automatically. My Lubuntu installation did just that. I rebooted for the first time after installing Lubuntu, opened the Firefox web browser (comes with Lubuntu) and voilà, the internet was there connected all by itself.
Update Linux
Back to updating your installation, you can use the software updater if you want (click on the bottom leftmost icon, the System Tools, and then Software Updater), but since you have the terminal window open you can do it from there. Fist type:
suIt will then ask you for the root password. This will give you root permission to do the updates. Now type:
apt-get updateLet it run until it has finished reading the package lists. Then type:
apt-get upgradeLet it run until it’s done upgrading all the packages and then you are done. It may ask you yes/no permissions along the way; just answer yes.
The mouse cursor in Lubuntu may look strange. To change it to the classic mouse pointer go to Preferences, Customize Look and Feel and in the window click on Mouse Cursor. Click on the mouse cursor you want (the pointer one is the first one) and then click Close. Reboot the computer and the change will become effective.

Installing LAMP
LAMP is an acronym for Linux, Apache, MySQL, PHP. It is a software bundle that contains several programs needed to set up a web server capable of running WordPress. Apache is the web server software that will make your old computer act as a server. MySQL is a database server that WordPress will use to store all its data, and PHP is the scripting language that WordPress is based on.
You can install all of these programs individually if you want (complicated and not for the novice). There’s a good tutorial on how to do this here.
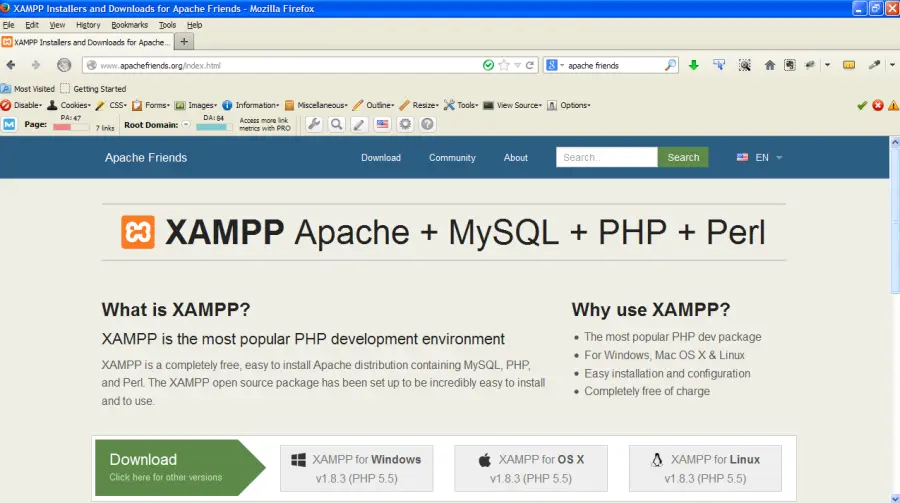
An easier way to do it is to download and install the program XAMPP developed by Apache Friends. XAMPP is an Apache distribution containing MySQL, PHP and Perl. You can download XAMPP for Linux here.
Open Firefox and go to that web page. Click on the XAMPP for Linux (don’t download the 64-bit program unless your computer is 64-bit). A window will pop and tell it to save the file. It will save it to the Downloads folder.
Open a terminal. Type:
suand then your root password. Navigate to the directory of the .run file you just downloaded:
cd DownloadsType:
dirto see the name of the file. Then type:
chmod +x nameoffile.runwhere nameoffile is the name of the file (press enter). Now type:
./nameoffile.runand press enter. The installer will run. You can save time by copying and pasting the name of the file in the terminal.
You will see a popup window that will guide you through the XAMPP setup wizard. After it finishes, make sure the “Launch XAMPP” is clicked and click Finish. A window will open in Firefox. Click on the language you want. Congratulations, your personal test web server is up and running.
Installing WordPress
Now you will install WordPress to your WordPress test server. WordPress can be manually installed by downloading the zip available at the WordPress.org official website, and uncompressing it inside the /opt/lamp/htdocs subfolder (or a sub-folder).
In Firefox, go to www.wordpress.org and download the WordPress zip file. Using File Manager, go to the Downloads folder and double-click on the zip file. This will open the Archive Manager. Extract the wordpress folder (click on ‘All files’ so that it extracts all files and directories).
Open a terminal with root permissions (see above). Navigate to the directory of the wordpress directory you just extracted (“cd Downloads”). Type:
mv wordpress /opt/lampp/htdocsCreate a database for WordPress
Before installing WordPress, create a database for wordpress in MySQL. In the Firefox browser go to url:

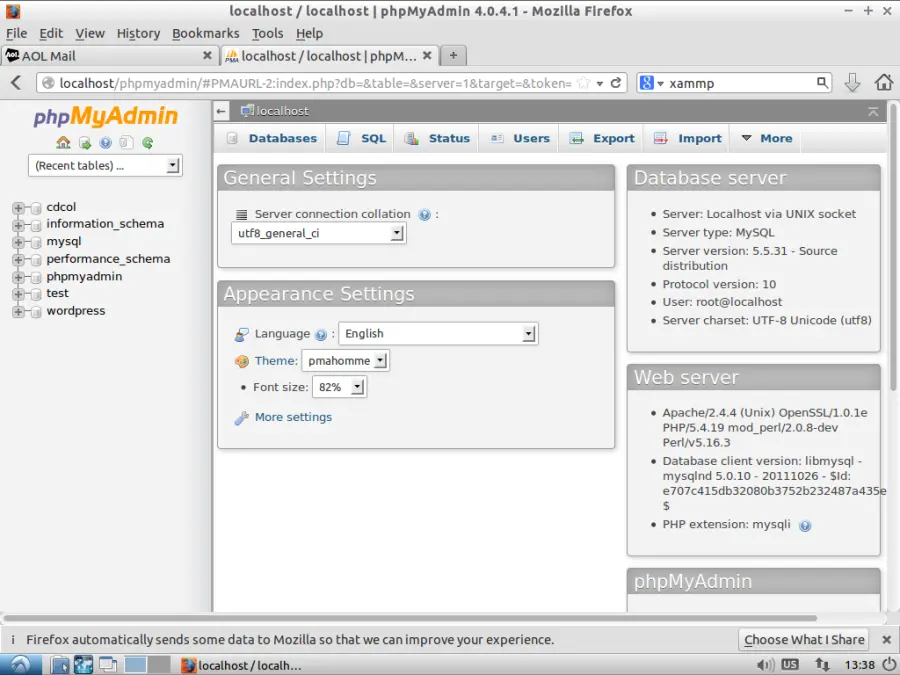
This is a page to handle the administration of your MySQL databases over the web. Click on “Users,” then on “Add user”. In the user name field type “wordpress”. Change Host to “local”. Type in a password twice (remember it). Click on “Create database with same name and grant all privileges”. In Global privileges click on “Check All”. Click “Go” at the bottom.
Go back to the terminal and type:
chmod -R 777 /opt/lampp/htdocs/wordpressYou normally wouldn’t do that, but this is a private development web site, not a production one. For more information on permissions, go to Changing File Permissions.
Using File Manager go to the wordpress folder and open the file “wp-config-sample-php”.
You will need to change the name of this file to “wp-config.php” for your WordPress installation to work. First, you will need to change the following information:
DB_NAME: Database Name used by WordPress (“wordpress”). Leave the single quotes.
DB_USER: Username used to access Database (“wordpress”).
DB_PASSWORD: Password used by Username to access Database (whatever you chose above).
Save the file in the same directory as “wp-config-php”.
Now go to the browser and type:
You should see the WordPress installation screen. Voilà! You have a web server with WordPress running.
Get the IP of your Linux server
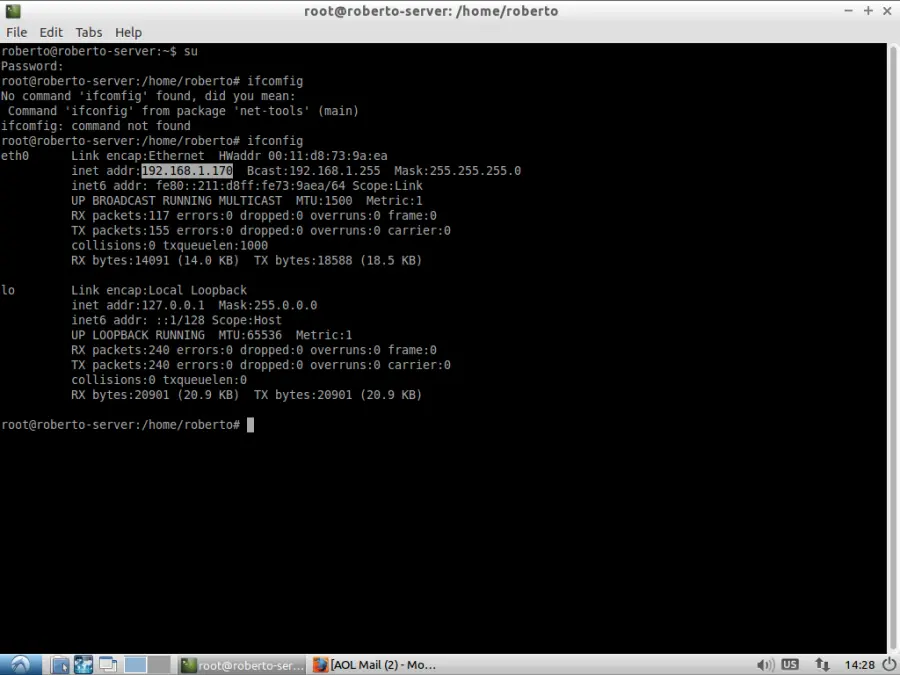
To see the IP address of your server, type “ifconfig” in Terminal. See where it says “inet addr”, the IP of the server.

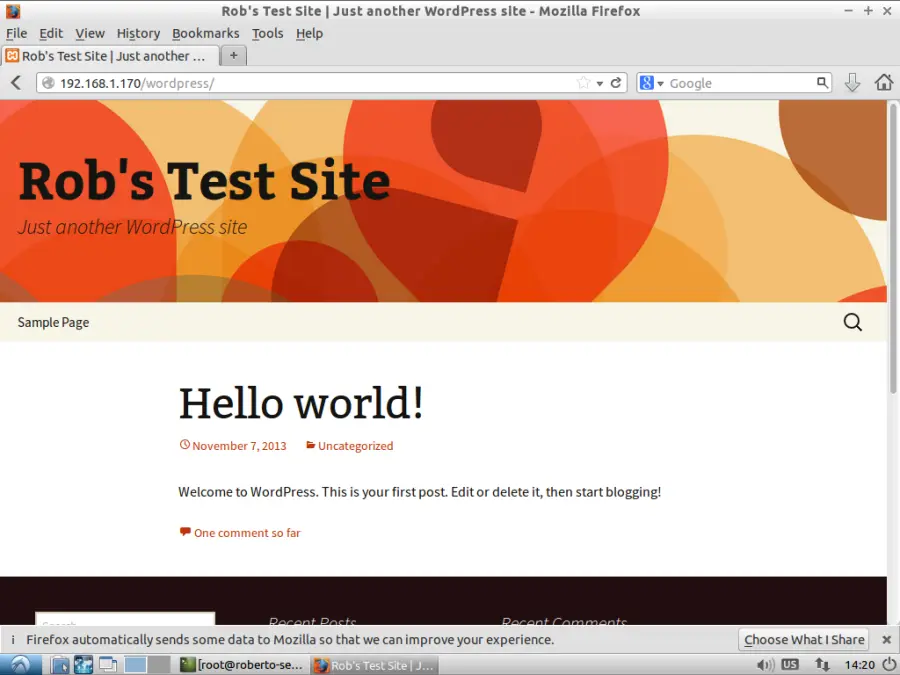
Mine is 192.168.1.17, so now I can go to any computer in my home network and type the following address in a browser to see my test WordPress site:
http://192.168.1.17/wordpress/

To install, delete or upgrade plugins or themes, you might be annoyed that WordPress asks for your FTP credentials every time. Here is a simple code snippet to change the file system method and make sure WordPress won’t ask for your FTP login and password again. Paste the following line in your wp-config.php file. This file is located in the root of your WordPress install.
define('FS_METHOD', 'direct');Save the file.
Starting your WordPress test server
You can start your server when you boot or reboot your computer or laptop by opening a terminal as root and typing:
/opt/lampp/lampp startAlternatively, you can set it up to start automatically. Create a script file (it is just a text file) in the init.d directory called lampp. In terminal type:
gedit /etc/init.d/lamppPaste this code on the script and save:
#!/bin/bash
/opt/lampp/lampp start
Give -x permissions to the file. Type:
sudo chmod +x /etc/init.d/lamppUse update-rc.d to install init scripts to all runlevel by typing:
update-rc.d lampp defaultsAfter you reboot the server, everything should start automatically.
Happy WordPress development!


This seems simple enough to setup, I’m sure this will help lots of people.
I’m glad it helped!
I think this is one of the most important information for
me. And i’m glad reading your article. But wanna remark on few general things, The site
style is great, the articles is really great : D. Good job, cheers